Limo Anywhere’s Messaging Manager is designed to streamline communication and make it easier for operators like you to connect with customers, drivers, and other team members. Here’s what it offers:
- Fully Integrated Text Communication: Engage in direct text conversations with customers, drivers, and others right from within the system.
- Message Threads: Keep track of all your SMS chats with passengers through neat and organized message threads.
- Group Texts: Send messages to multiple recipients at once by creating text groups.
- Message Status Tracking: Stay updated on the status of your messages, whether they’re incoming, outgoing, or assigned. This feature adds more/different tracking options depending on the Provider chosen.
- Quick Responses: Send prompt replies with the quick reply feature, speeding up your communication process.
- Scheduled Messaging Integration: Messages sent through scheduled messaging are logged in the Messaging Manager. Plus, automated SMS responses are logged too, and you can easily communicate with chauffeurs and other team members through SMS directly from the system!
Activating Messaging Manager
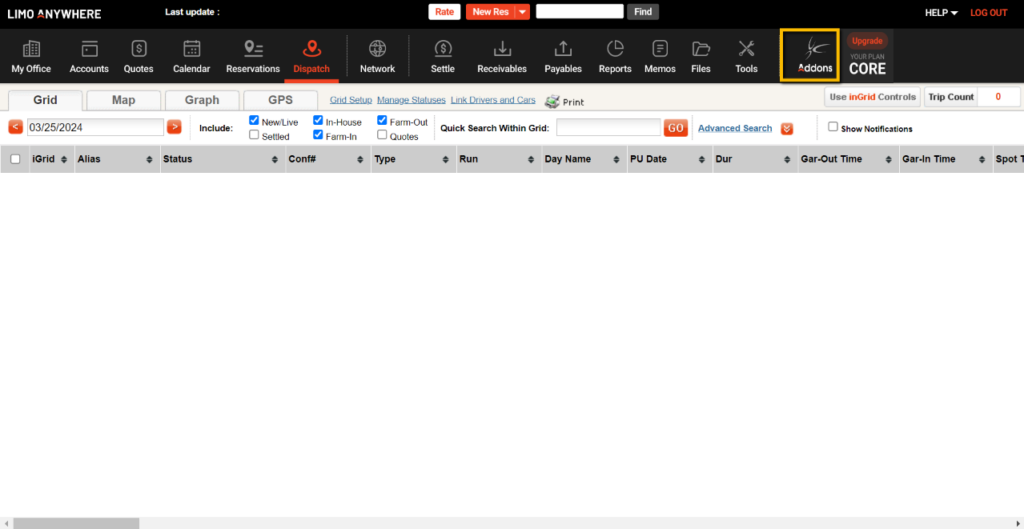
To activate Messaging Manager, you first have to be on the Core Package. Within the system, navigate to the top right of the Menu and select the “Addons” option to request activation of your addons. This process usually takes up to a few minutes to complete. If you do not have the ‘Addons’ option on your Menu, please contact Customer Support at the following number: +19727018887 opt. 2 so that we can activate it from the back office.
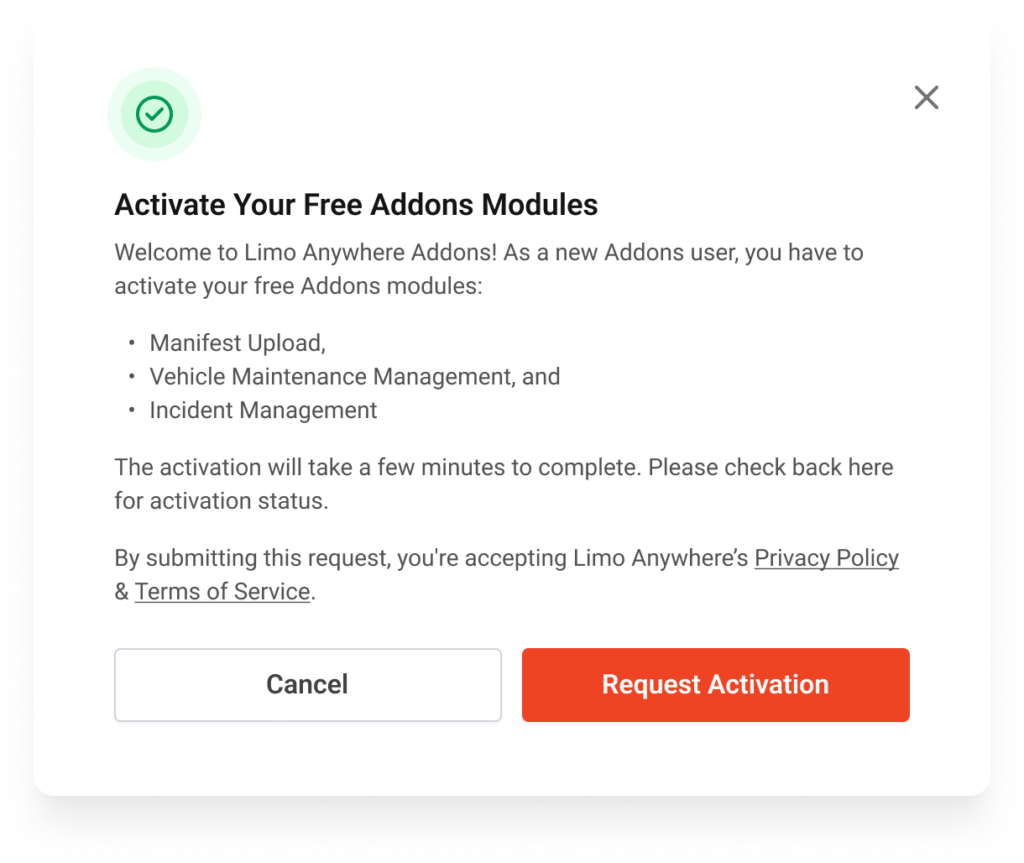
Once your Addons have been activated, navigate to the “A-La-Carte” Addons to the right hand side and select “Add Module” or “Add” for Messaging Manager.
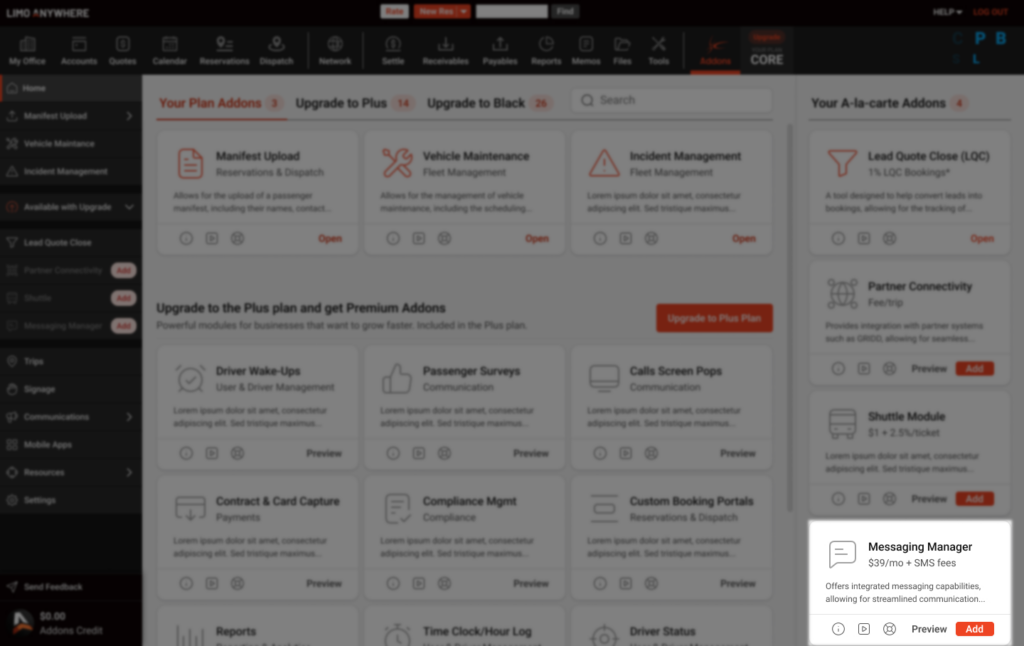
Note: If you do not have a card on file you will be prompted to enter your payment details to proceed with adding the Messaging Manager Module. Once this is complete, you will be prompted with the Terms and Conditions which will require a signature. Once this is complete, we can move on to setting up Messaging Manager.
Messaging Manager Setup
Following the activation of the module, you will gain access to the Set-Up options for this module. You can access the Set-Up by either clicking ‘Open’ on the feature card, or by navigating to the left-hand side of the screen and open ‘Messaging Manager’.
The next step of the set-up is selecting one of the supported SMS providers, which are: Phone.com, RingCentral, Plivo, Nexmo, Mobile Text Alerts, Dialpad, Heymarket, Text Request, TextUs, Twilio & Podium.
Note: Plivo, at the moment is not an available provider, however it will be added in the near future.
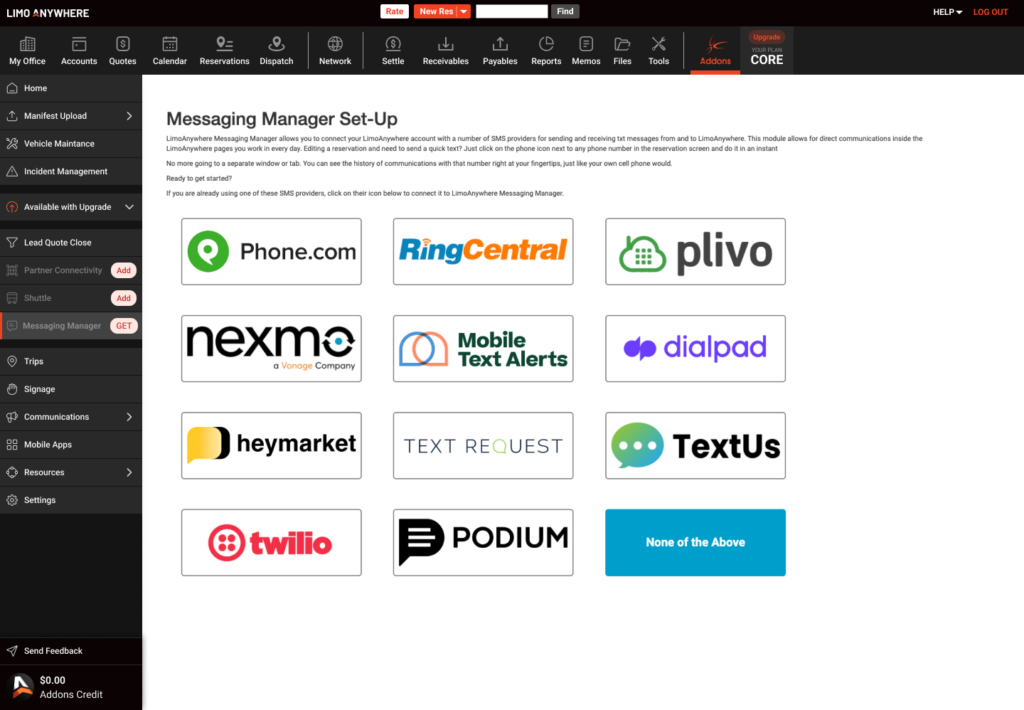
Note: Different providers may have different authentication methods, such as requiring password keys or logging in with user credentials.
Once you have set-up the credentials and have set-up your provider of choice, Messaging Manager will be enabled and ready for use!
Messaging Options
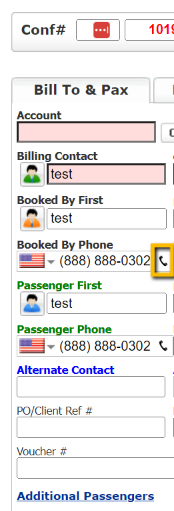
Once everything is set-up and the module is enabled, you will have access to a multitude of ways to send and receive messages, one of which is the ‘Quick Text Window’ by simply clicking on the small phone icon on the reservation screen next to the Booking Contact & Passenger phone numbers.
For all other Messaging Manager features and the guide on how to use them, click here.
