Login
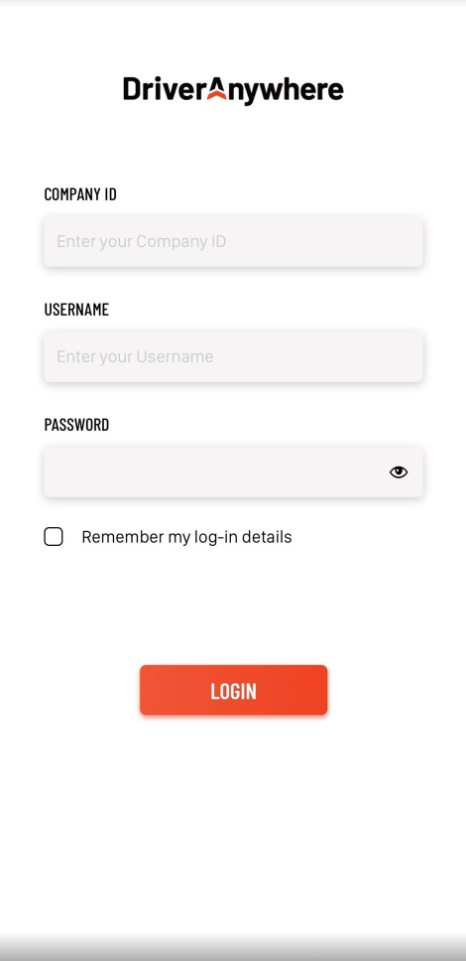
First thing you will do to use DriverAnywhere is login. You will enter in:
- Company ID
- Username
- Password
All of these things are provided by Limo Anywhere operator.
If you check “Remember my log-in details” before you login, it will remember the Company ID and Username for next time.
On-Duty/Off-Duty
The On-Duty/Off-Duty switch is on the top right of the Dashboard screen. If you go On-Duty, you must select the car you are driving.
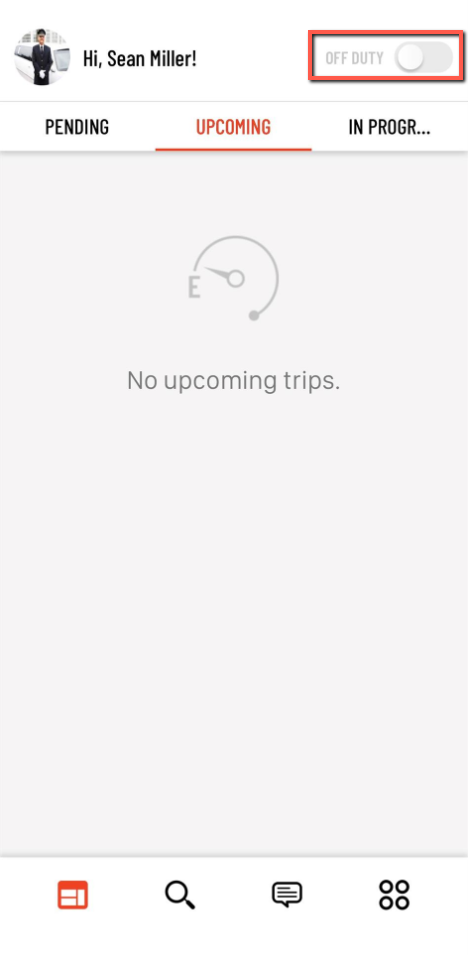
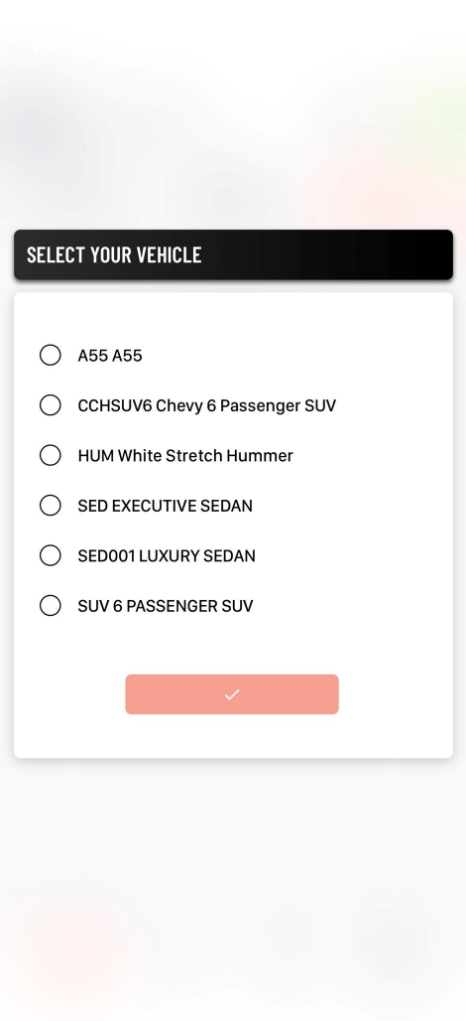
If you are no longer using the car, you can go Off-Duty or Logout from DriverAnywhere.
Job Card
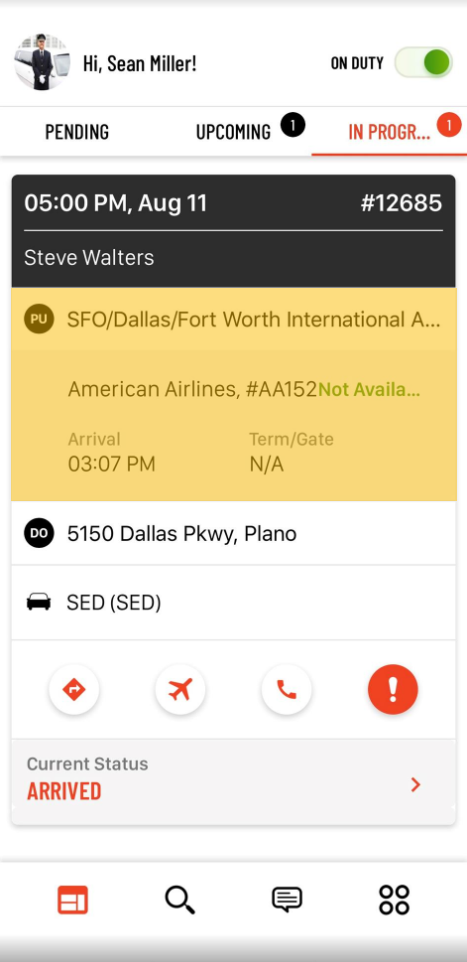
In DriverAnywhere, any trips assigned to you will be listed as job cards. The job card will display important information about the trip at a glance.
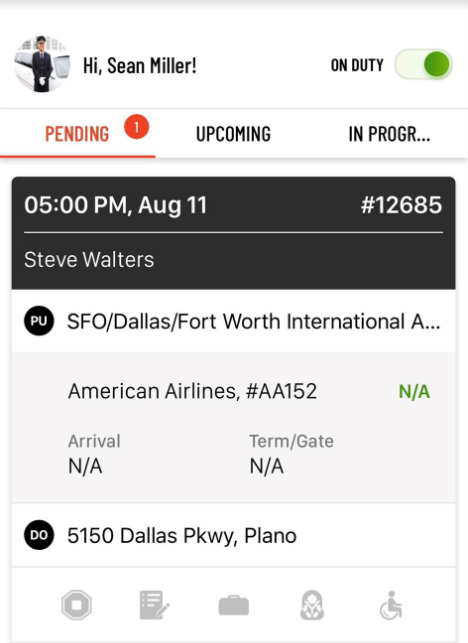
Tapping on the job card will take you to the job details screen to see more details about the trip
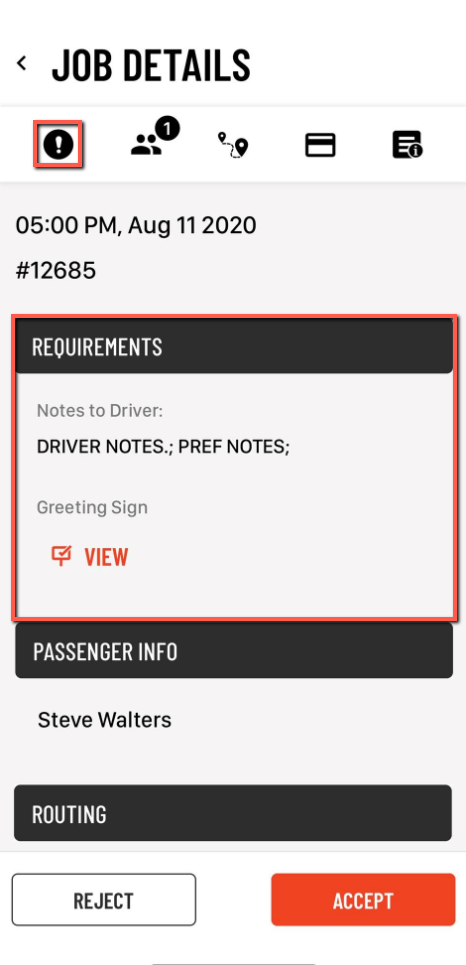
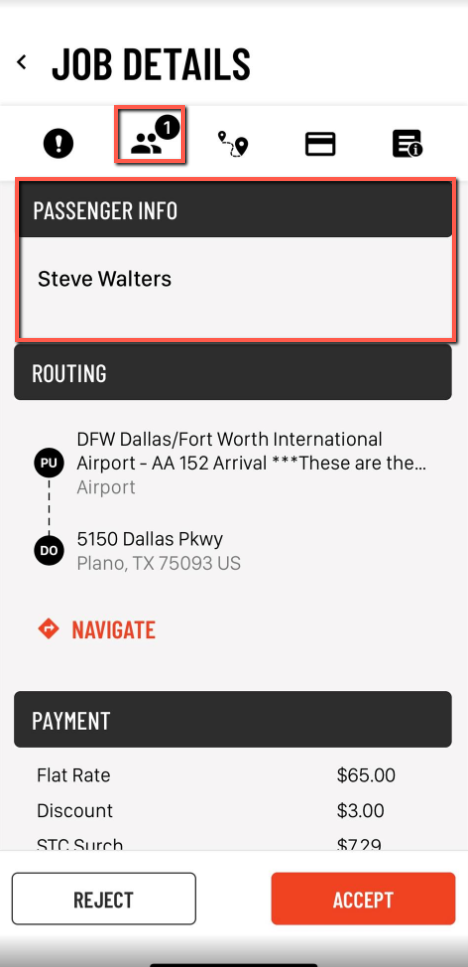
including Requirements, Passenger Info, Routing, Payment and Additional Info.
Job Details
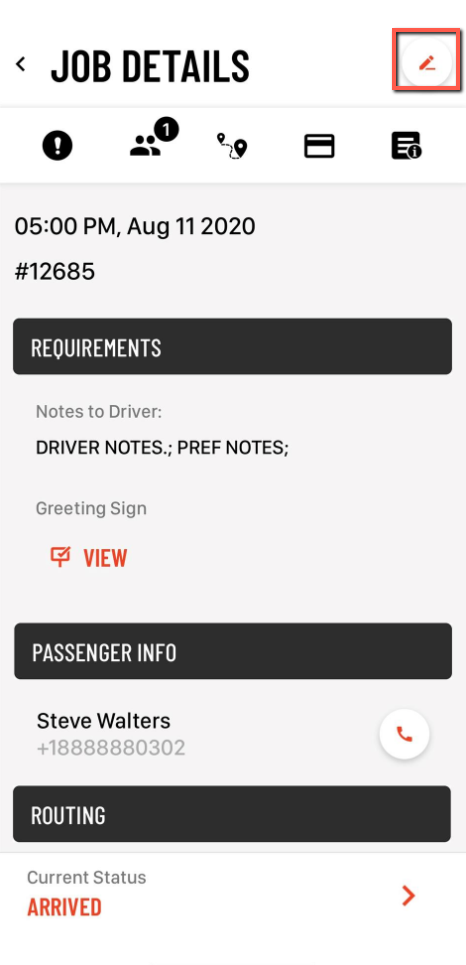
The Job Details screen will show more detailed information about the trip.
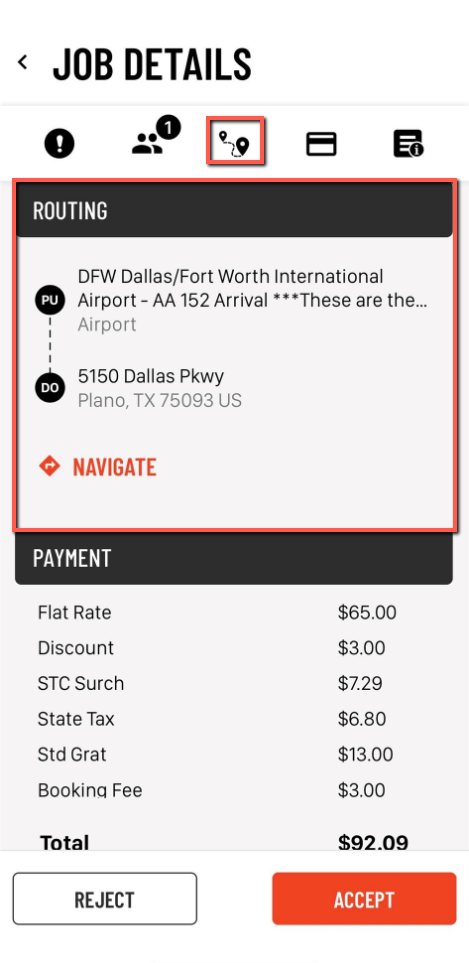
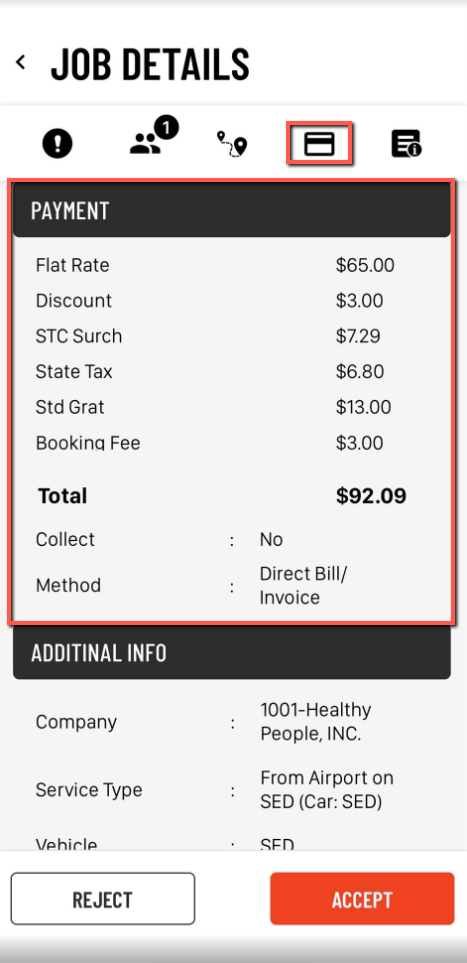
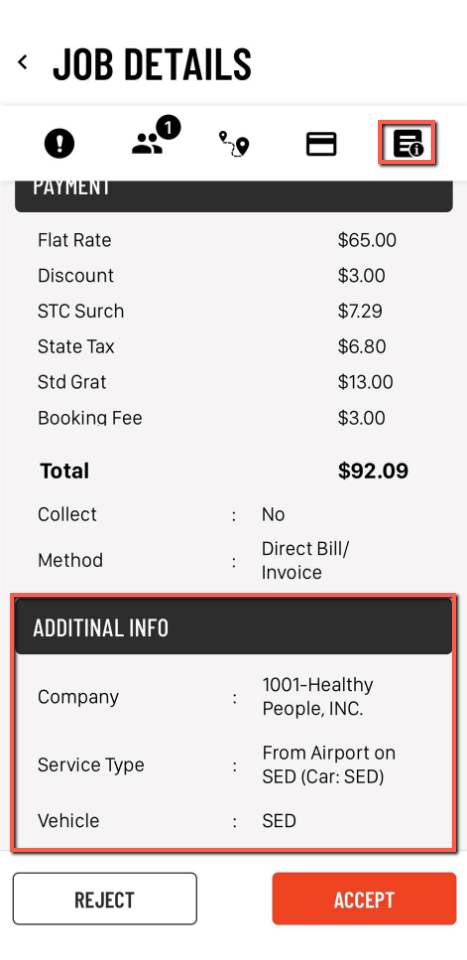
Tapping on the pencil in the top right will take you to the Update screen where you can update times, add stops, add notes, update rates, etc.You will also access the Update screen when closing out the trip.
1. Pending
Pending screen is where you will see your trips to Accept or Reject.
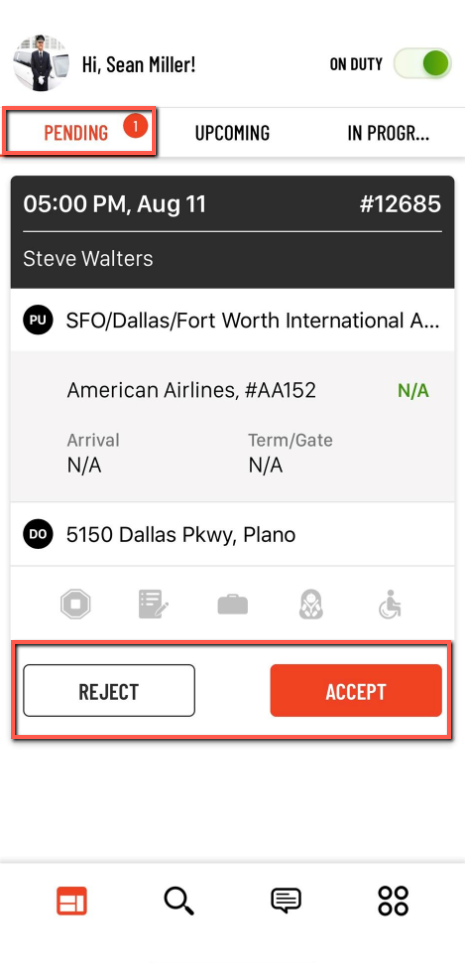
Select either REJECT or ACCEPT. Once Accepted it will move to the Upcoming screen.
2. Upcoming
The Upcoming screen will list all of your trips that are coming up in the future.
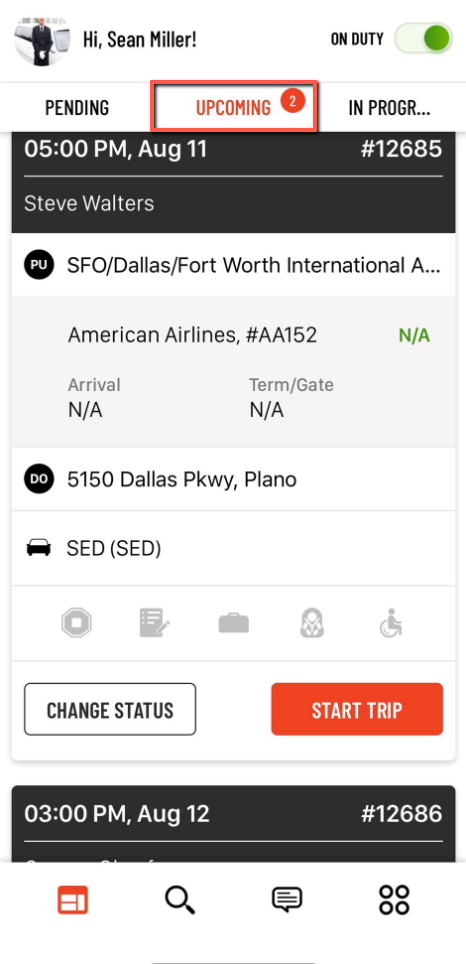
Select start trip to go “On the Way” to the PU location.
The job card will then move to the In-Progress screen.
In-Progress
The In-Progress screen will show a trip that is In-Progress until the trip is closed out. You will change the status of the trip down at the bottom: On the Way, Arrived, Customer In Car, Passenger Dropped Off, and Done.
Note: Status names may differ based on operator.
On the In-Progress job card, you will still see important details about the trip like other job cards. You will also see the phone icon (on center right, to contact passenger) and a directional button (on left, to send routing to selected map provider).
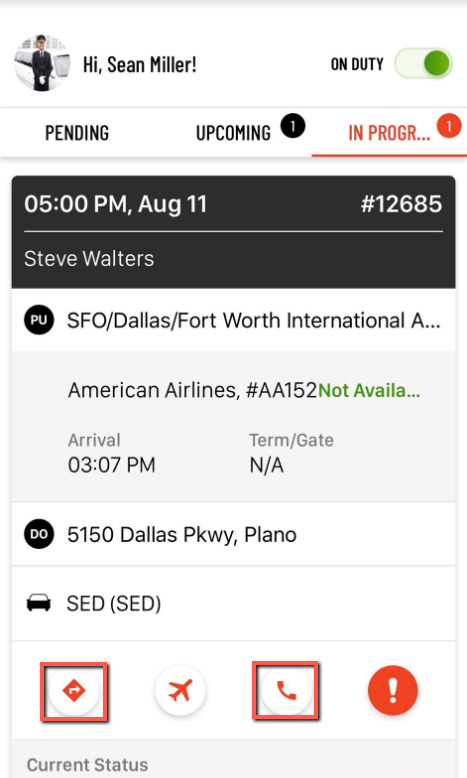
3. On The Way
Once you start a trip from the Upcoming Trips screen, the trip will already be set to On The Way.
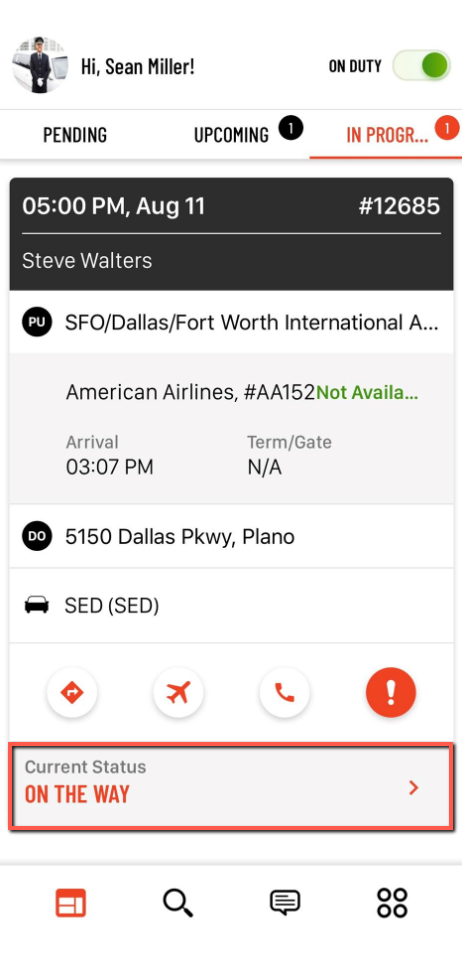
4. Arrived
Once on location at PU, you will change the status to “Arrived”.
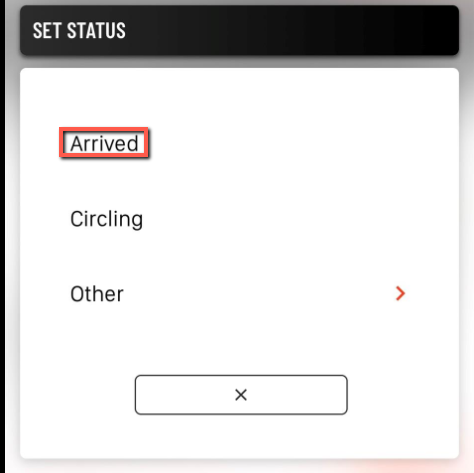
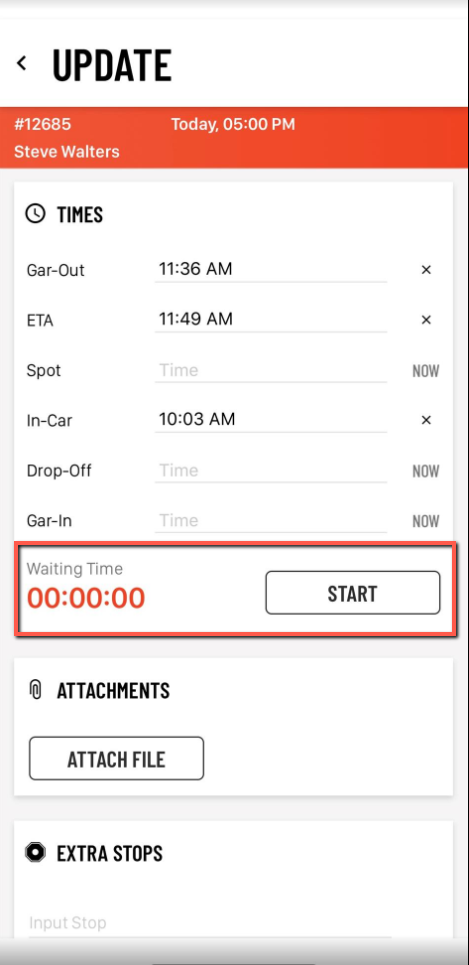
Once you have “Arrived” you will be able to Start the Wait Timer if needed. You can start the wait timer multiple ways. You can start by selecting the job card and selecting the edit pencil icon on the Job Detail Screen
and the Waiting Time Start button is on this screen.
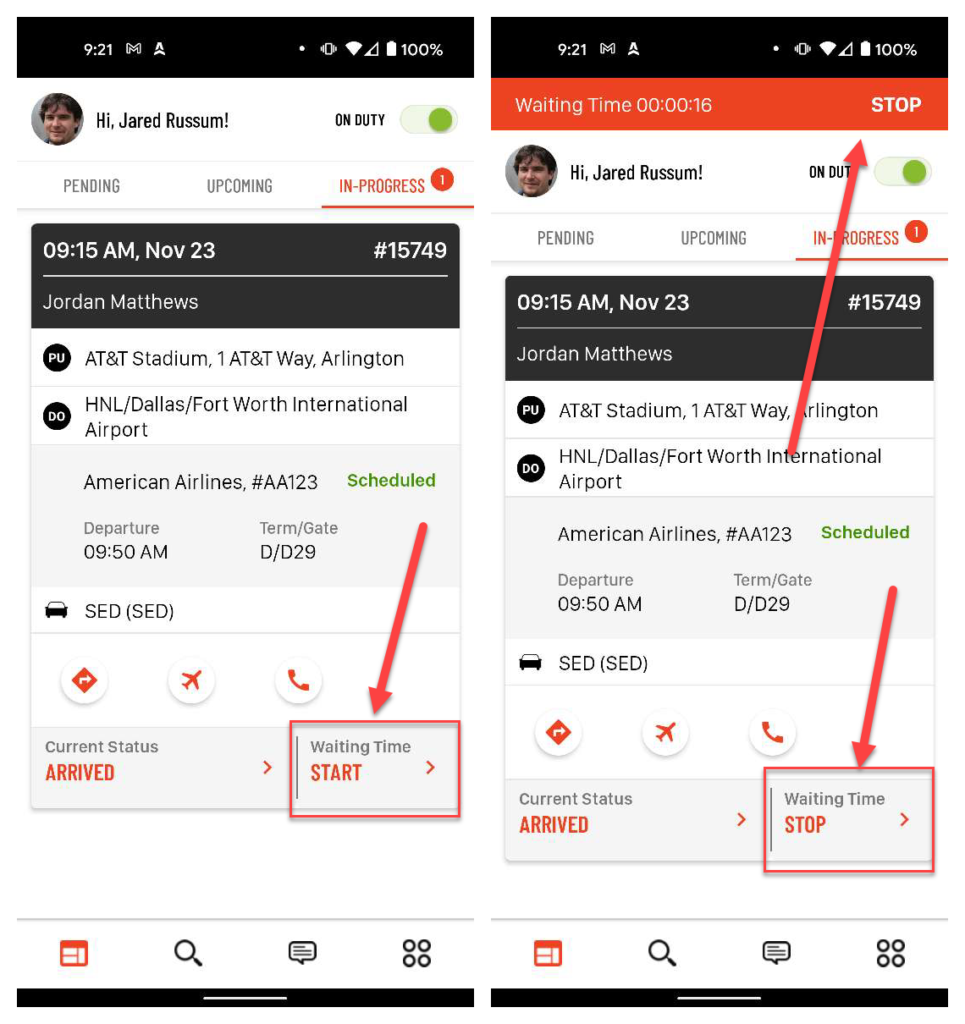
Also after you have selected an “Driver is waiting at pickup” status you will see the wait time start/stop option directly on the job card along with a wait time banner after you have started the wait timer.
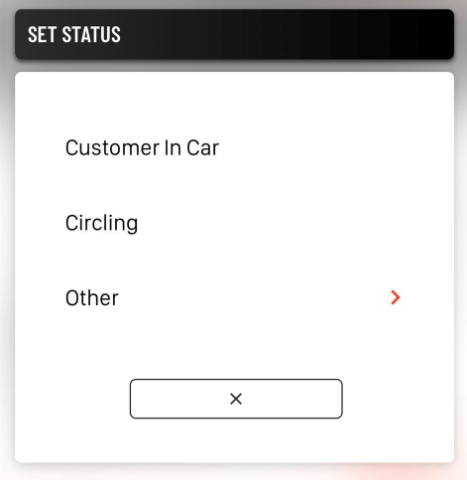
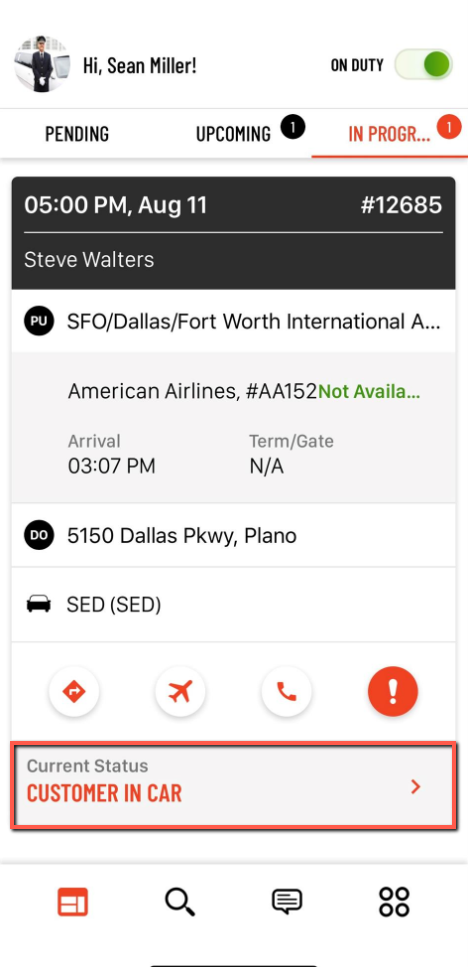
5. Customer In Car
After you have picked up the customer, you will set this status to “Customer In Car”.
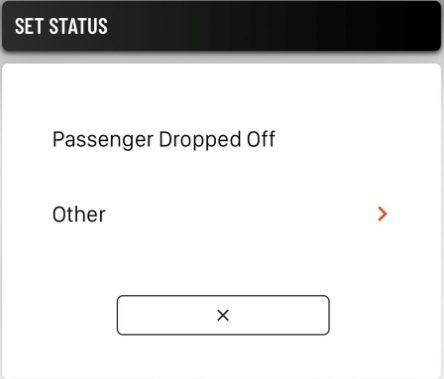
6. Passenger Dropped Off
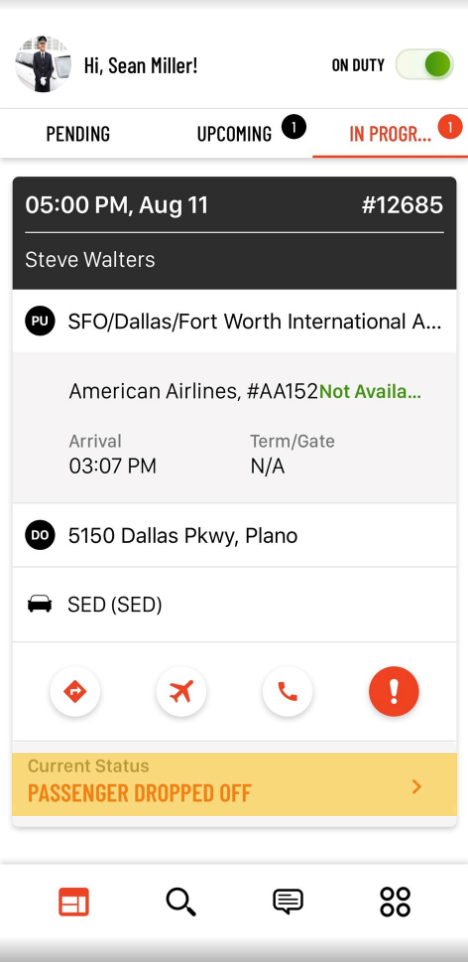
After you drop off the Passenger, you will set the status to “Passenger Dropped Off”.
Once Passenger Dropped Off has been selected you can click on the Current Status to begin Finalizing the trip.
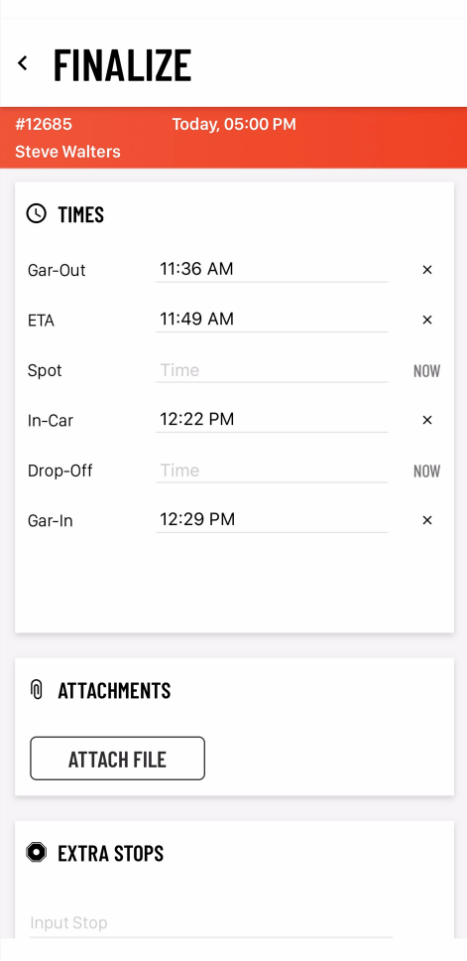
7. Trip Complete/Close Out
Once you are done Finalizing the details of the trip select the check mark at the bottom of the screen to close the trip out.
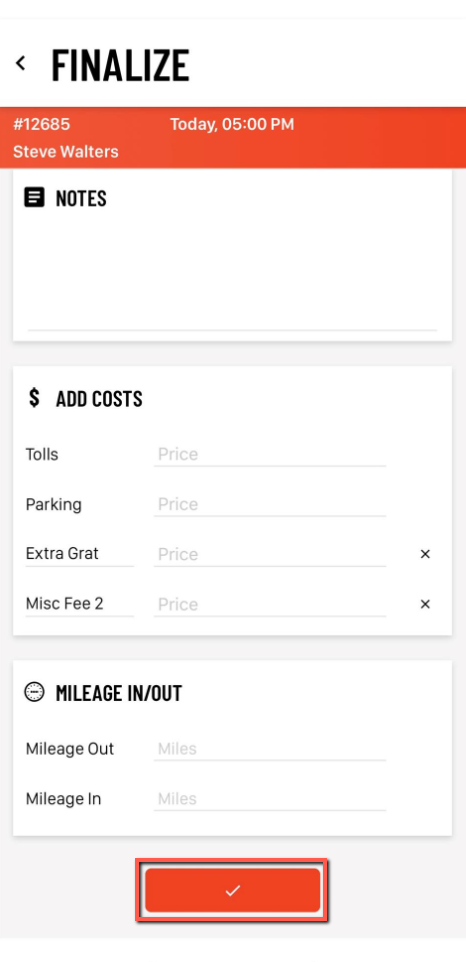
8. Payments
Collecting Payment
After the trip is completed and you close and finalize the trip, you can collect payment. You will get pop-up asking “Collect payment?” with a check or “X”. (Note: if you are required to take payment, you will not see this pop-up and proceed to take payment.)
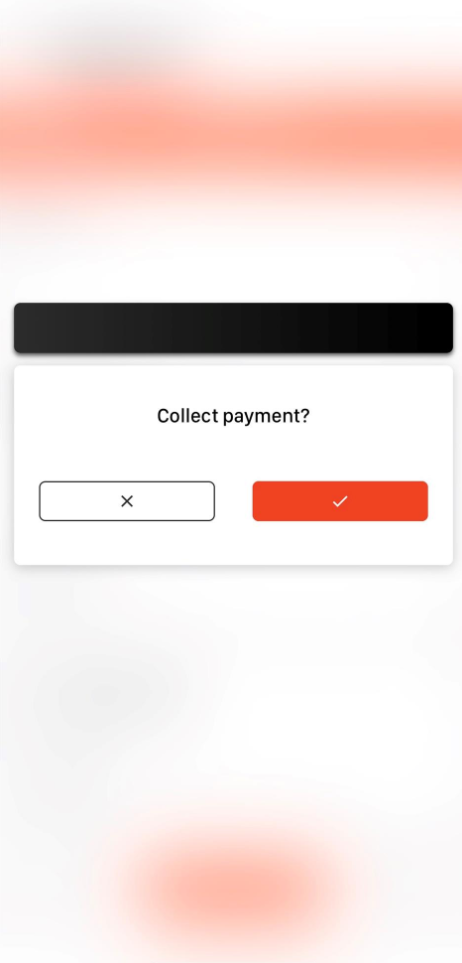
If you hit check, it will proceed to payment screen. If you hit “X”, the trip will close out and payment cannot be taken.
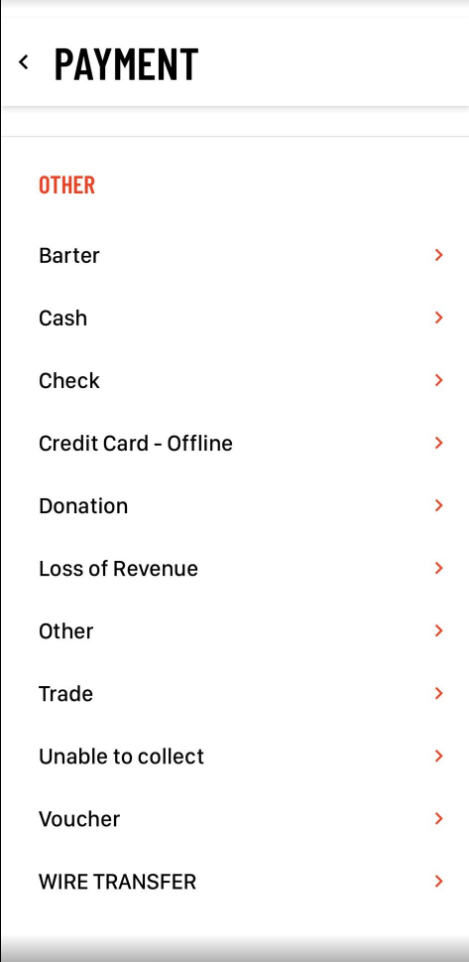
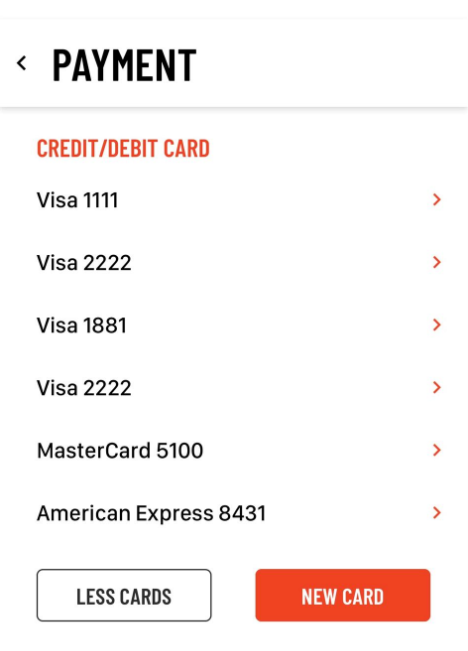
Once proceeding to process the payment, select the Credit Card to charge or select an “Other” payment method if paying Cash, Check, etc.
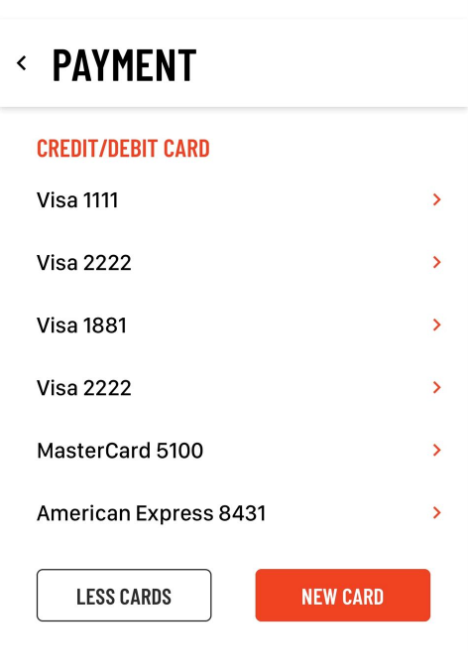
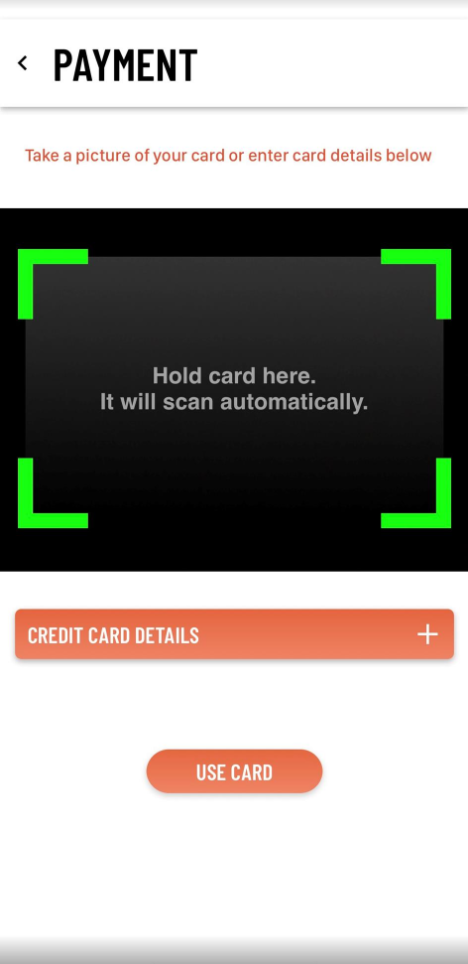
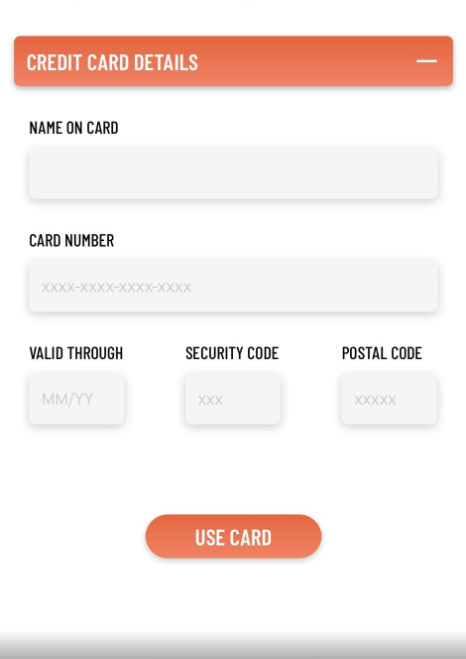
If adding new card, you can Scan or enter the details manually by pressing “New Card”.
Once you select a Payment Method, you will select the “Total” amount of the trip to make the payment and the passenger will sign.
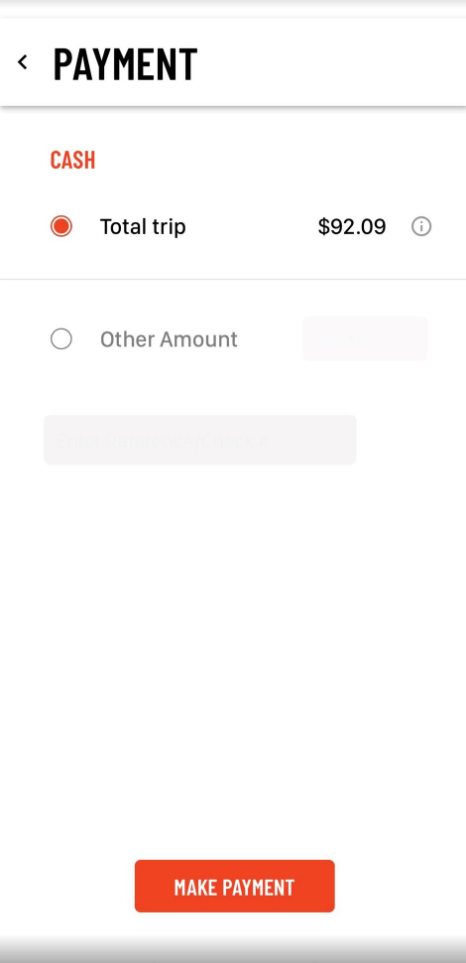
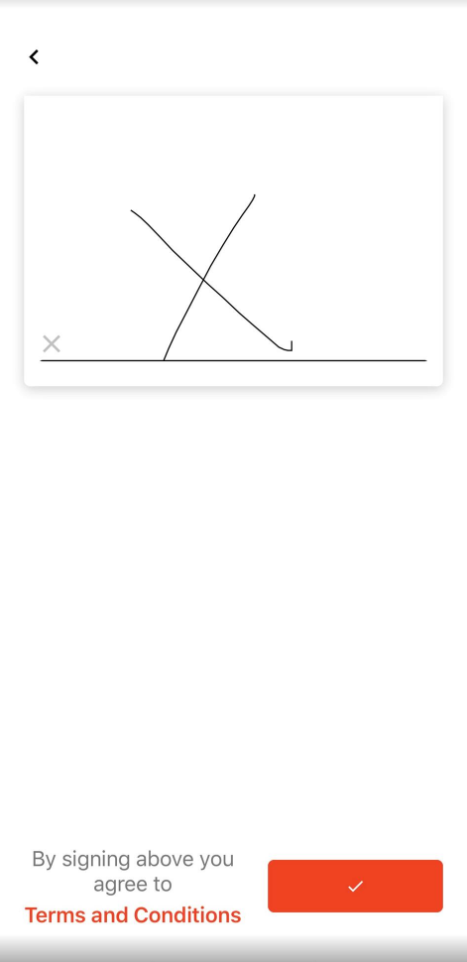
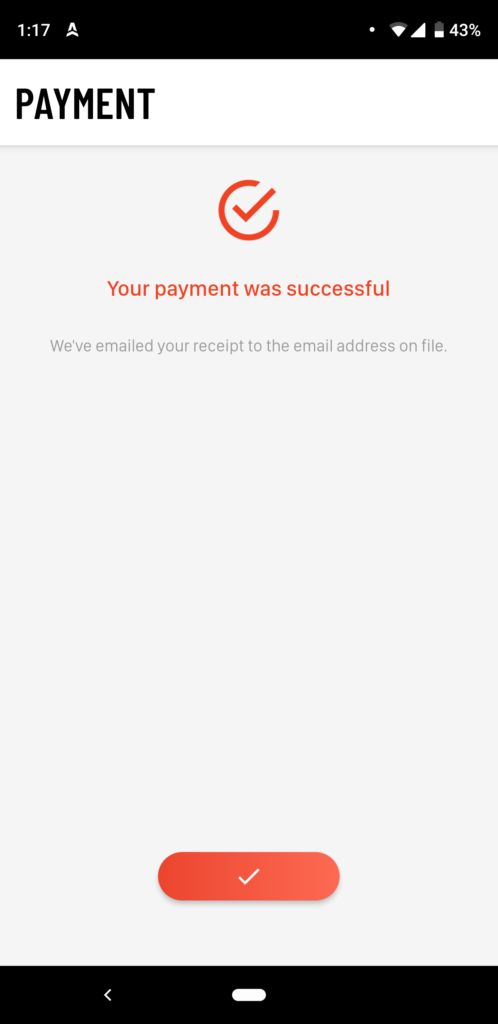
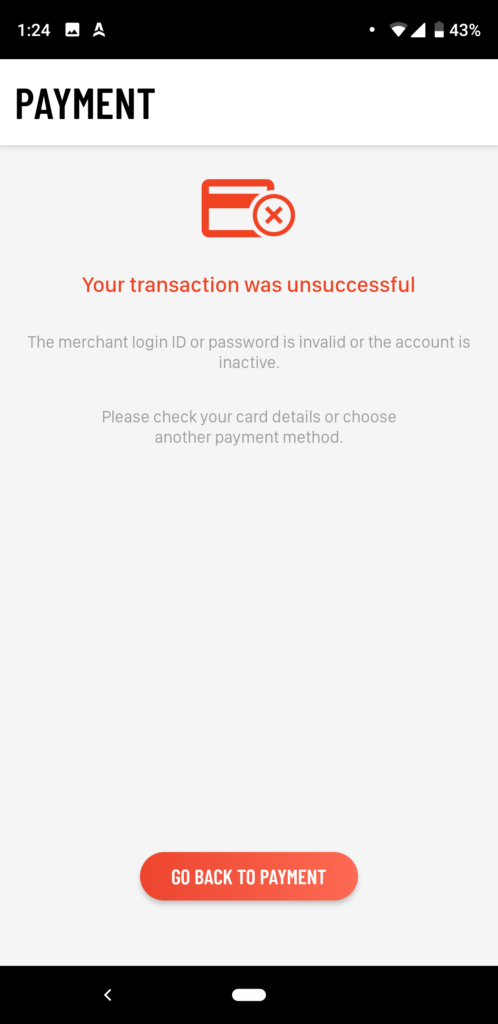
Once you click the checkmark, it will process the payment and give you a Successful message if processed or an Unsuccessful message if payment was not processed. You can try again or choose another payment method/credit card.
Collecting Partial Payment(s)
There may be instances when you need to collect partial payment(s) for a trip. This must be done before closing out the trip.
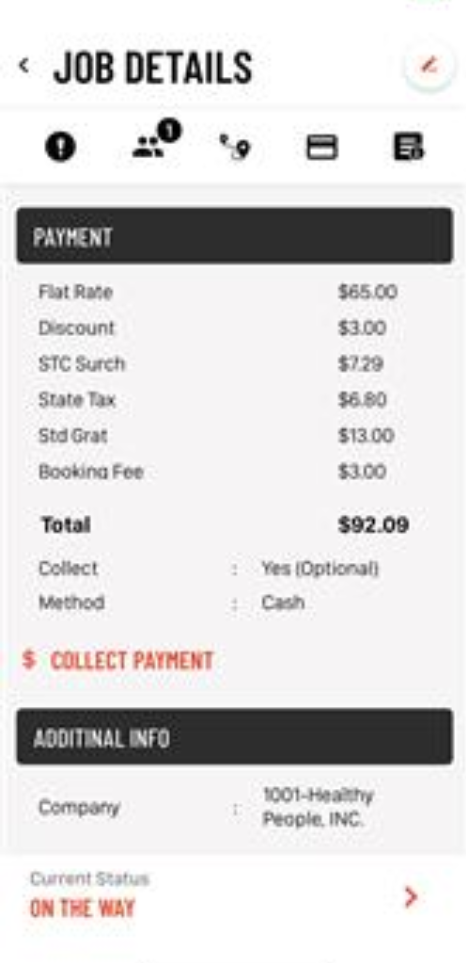
To collect a partial payment(s), go to Update screen and in the PAYMENT section you will see the ” $ COLLECT PAYMENT “.highlighted select this
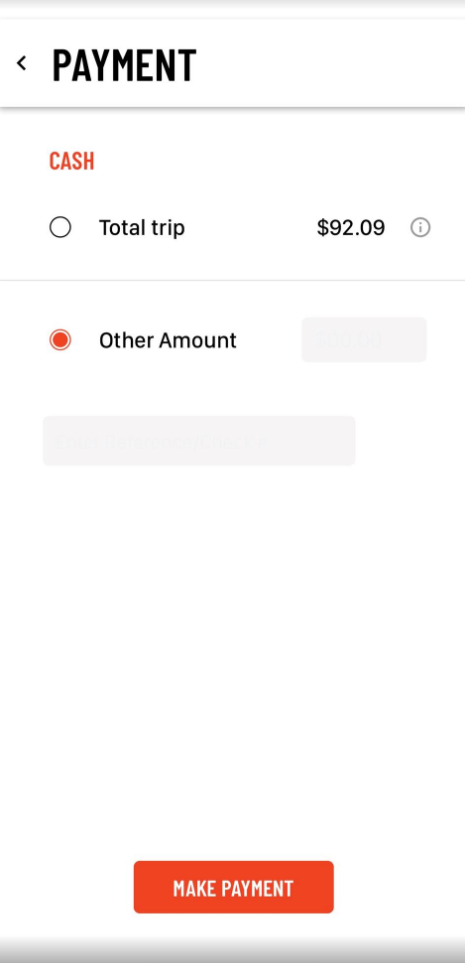
After Selecting Payment Method, select “Other” and put in the amount you want to capture for payment.
