Managing the Time Zones List in Limo Anywhere
Managing Lists of frequently used data points in the limousine company’s Limo Anywhere creates a customized system that fits the business, and allows for greater efficiency in using Limo Anywhere on a daily basis. This Knowledge Base article covers managing the Time Zones in Limo Anywhere.
Managing Time Zones can assist the limousine company with operating globally.
The first step in effectively managing Time Zones is to establish the Time Zone for the company’s base of operations.
- Click on the ‘My Office‘ icon on the toolbar.
- Open the ‘Company Settings‘ tab.
- Select the ‘Company Preferences‘ button.
- Select the ‘General‘ button.
- The first Company Preference is the time zone. Click the drop down arrow, and select the appropriate Time Zone from the displayed drop down list.
- Click ‘Update Company Preferences‘ to retain the selection.

Managing Time Zones
- Click on the ‘My Office‘ icon on the toolbar.
- Open the ‘List Management‘ tab.
- Select the Time Zones button.
- The Time Zone Listing will be displayed.
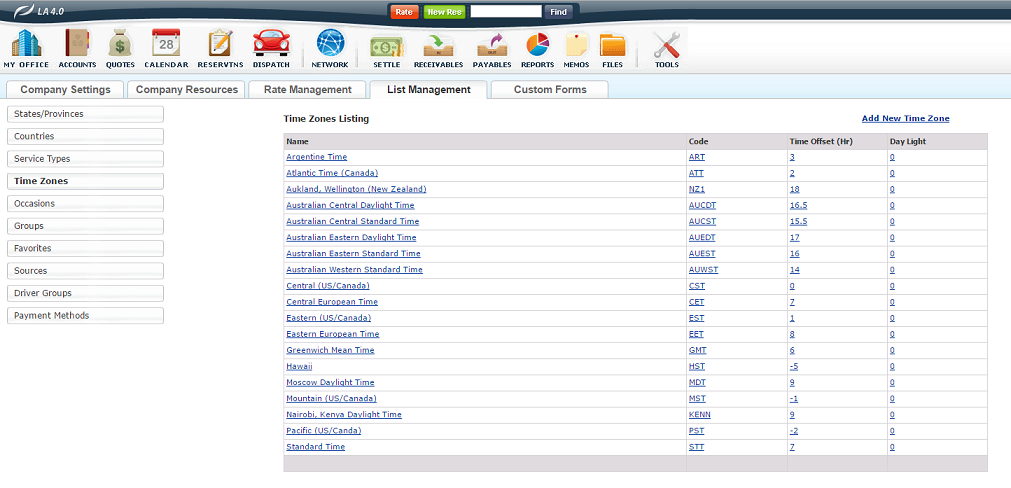
Note the Time Offset (Hr) column has illustrated above. The value populated here is calculated from the Time Zone selected in Company Preferences which above is Central US has indicated by the “0” value. This is handy guide for determining how many hours ahead or behind a traveling customer or affiliate is from local time.
Limo Anywhere has installed by default the 17 Time Zones illustrated above. The Time Zone Code is programmed into Limo Anywhere and can be changed. If a Time Zone is added the code used should be the correct name and code for that Time Zone. For a list of Time Zone names and codes see www.worldtimezone.com.
Note: Time Zones in Limo Anywhere are based off of Central Standard Time (CST), not Greenwich Mean Time (GMT).
Adding A Time Zone
- Click the ‘Add a Time Zone‘ link in the upper right of the Time Zone Listing. The top position in the Time Zone Listing will appear with blank fields.
- Enter the Name for this time zone that is appropriate for the company.
- Enter the Code.
- Enter the Time Offset (Hrs). Note: Enter a positive number for time zones ahead of the company’s location, and a negative number for those time zones behind the company’s location.
- If a different offset is applicable in Daylight Savings time enter that value in the Daylight column.
- Click ‘Add New‘ to retain the entry, or ‘Cancel’ to erase the addition.

Editing/Deleting A Time Zone
- Click any of the linked values (underlined) in the Time Zone Listing.
- Change the Name, Code or Time Offset.
- Click ‘Update‘ to save changes, or ‘Cancel‘ to ignore changes. Click ‘Delete‘ to remove the time zone.
