Step 1: Navigate to GroundXchange Settings
From your operator portal, go to Addons > Settings > GroundXchange.
Step 2: Start Registration
Click the ‘Register for GX’ button to begin the self-onboarding process.

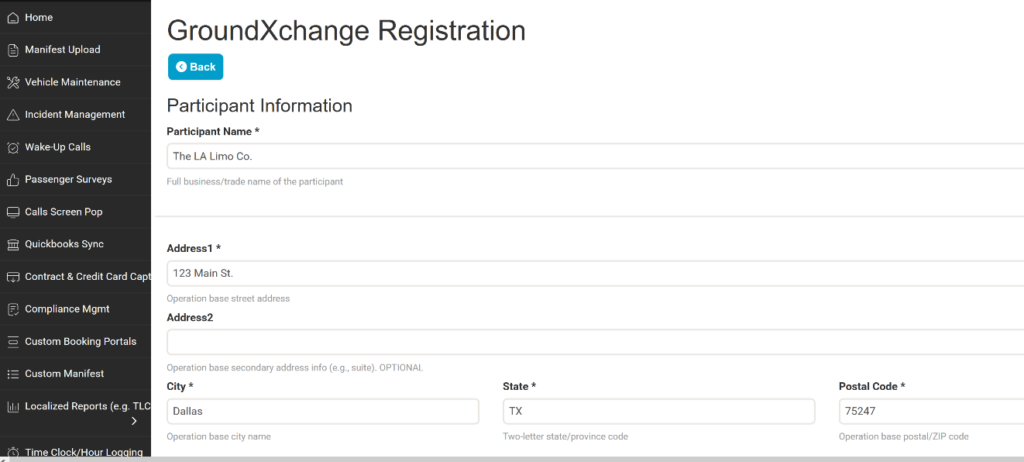
Step 3: Complete the Registration Form
A registration form will appear. Some fields will already be pre-filled for you with the needed information. Fill in all required fields with your organization’s details, then click Submit.
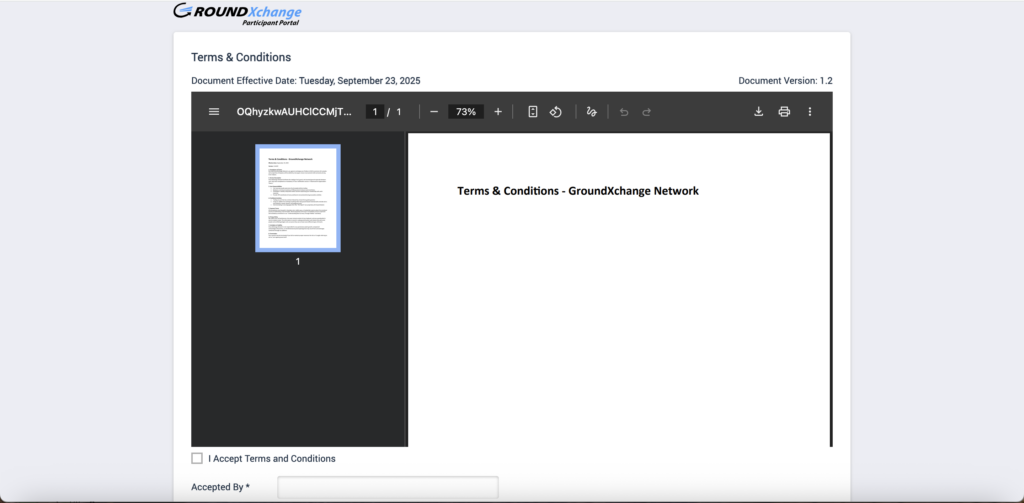
Step 4: Accept Terms & Conditions (T&Cs)
After submitting the form, a separate browser tab will open displaying the GroundXchange Terms & Conditions. Review the terms carefully and click to accept.
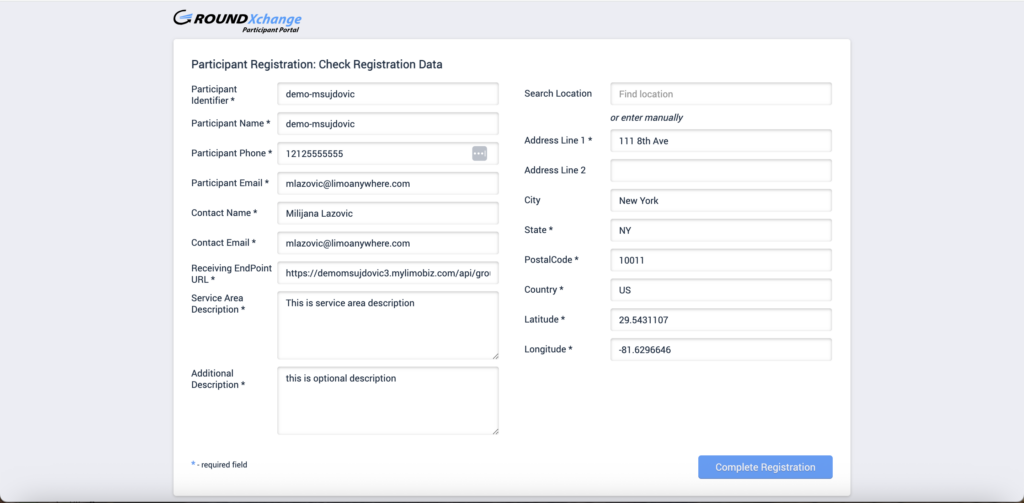
Step 5: Review Your Application
After accepting the T&Cs, the registration form will reopen for your final review. Verify that all information is correct before confirming.
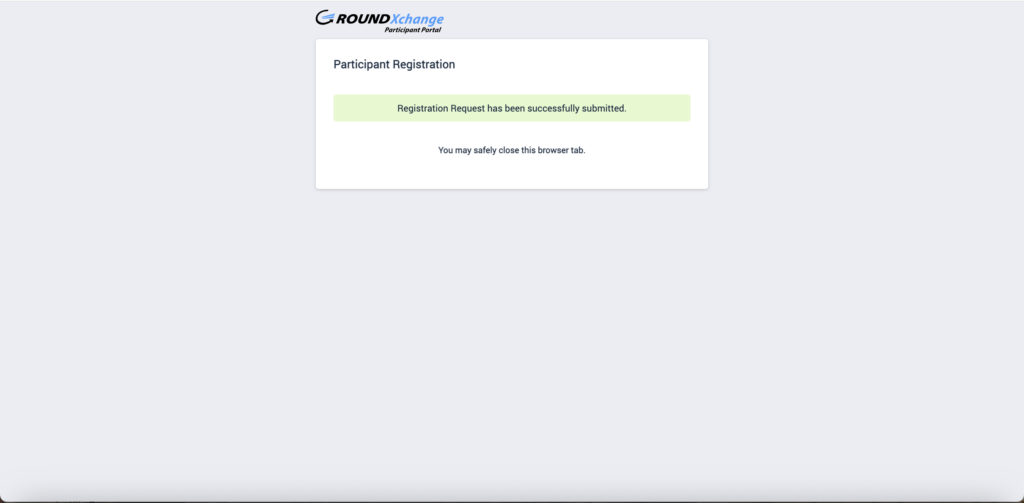
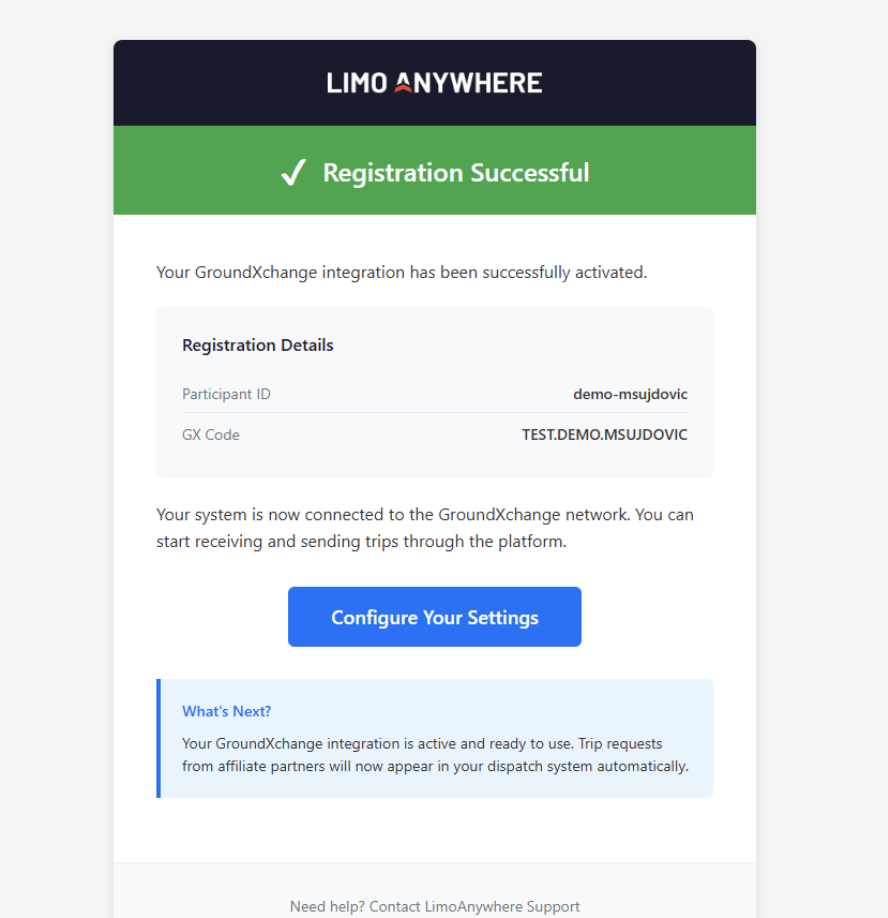
Step 6: Wait for Approval
The GX team will review your application. Once approved, you will receive a confirmation email.
Step 7: Post-Approval: GX Mapping Configuration
Once you receive the approval email and GX is enabled on your account, you must complete the following mappings for the integration to function correctly.
Click here to go through the setup for your GroundXChange settings: GroundXChange Setup Instructions
| Mapping Category | Description |
|---|---|
| Service Types | Map your internal service types to the corresponding GX service type categories. |
| Rate Mappings | Align your rate structures with GX rate definitions to ensure accurate pricing. |
| Payment Methods | Configure the accepted payment methods for GX transactions. |
| Vehicle Types | Map your fleet’s vehicle classifications to the GX vehicle type standards. |
| Statuses | Map your operational statuses to the GX status values for proper job tracking. |
Troubleshooting
| Issue | Solution |
|---|---|
| T&C page does not open | Disable your browser’s pop-up blocker for this site and try again. |
| No confirmation email received | Check your spam/junk folder. If not found, contact the GX support team. |
Summary
- Go to Settings > GroundXchange and click Register for GX.
- Fill out and submit the registration form.
- Accept the Terms & Conditions in the new browser tab.
- Review and confirm your application.
- Wait for the GX team approval email.
- Complete all five GX mappings: Service Types, Rate Mappings, Payment Methods, Vehicle Types, and Statuses.
If you encounter any issues during the registration or mapping process, please contact Support for assistance at 972-701-8887 or support@limoanywhere.com