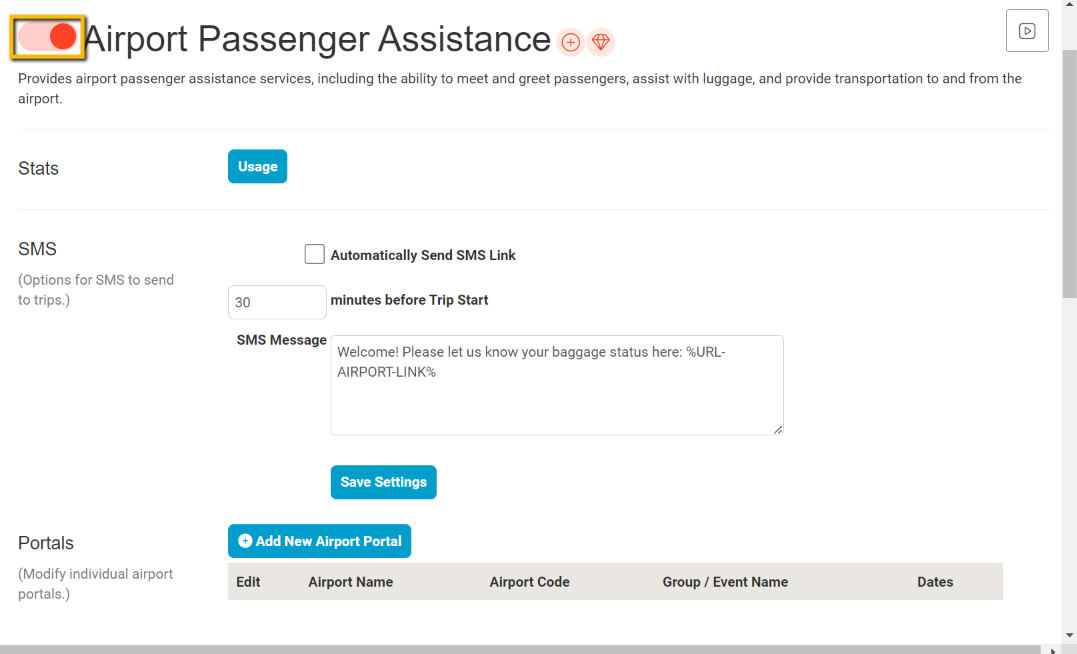
Enable Feature
If you haven’t already, do ahead and enable this feature by using the toggle button as displayed in the image below.


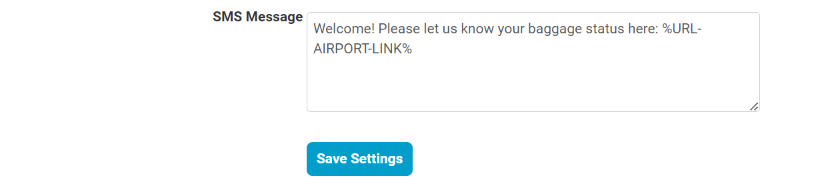
SMS Setup
- Enter the amount of time before the trips scheduled start time you want the message to go out.


- If you wish to customize the outgoing SMS message, you can do so in the SMS Message box, just be sure to keep the tag %URL-AIRPORT-LINK% in the text message or else the passenger will not receive the web link with instructions. Then click the Save Settings button.
Portals
Create New Portal
Names / Airport Code
Next, we want to Click the Add New Airport Portal button.
- Enter an Airport Name like Los Angeles International Airport and the Airport Code like LAX in this case.
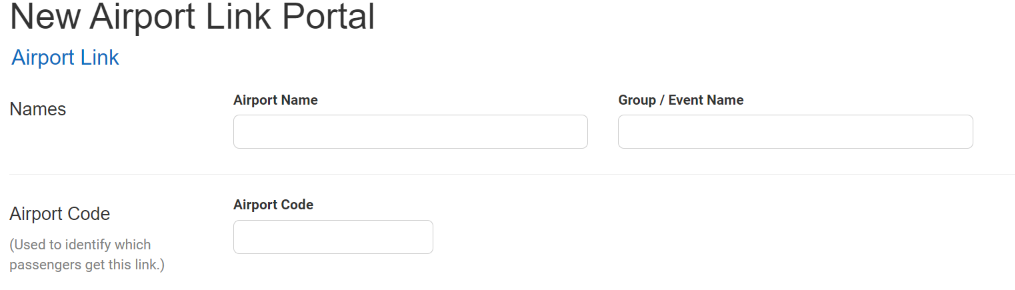

Unless you are planning on building an Airport portal specifically you a group you can ignore the Group/Event name and Start and End dates of the portal.
Logo Image
Next upload your logo to the Portal

![]()
Background Image
Then, if you would like you can upload a custom background image to enhance the appeal of your portal.


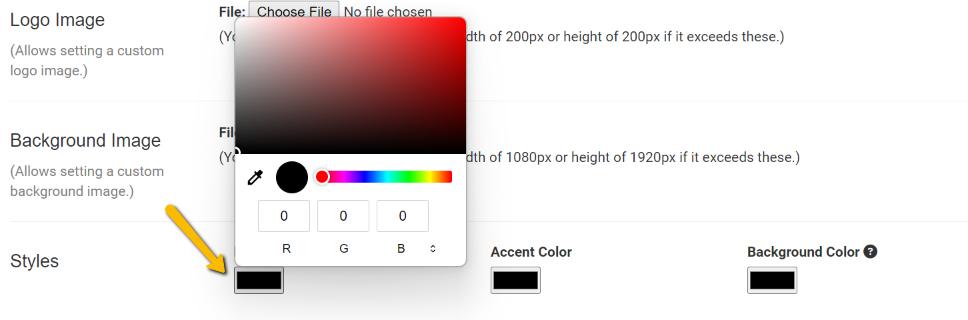
Styles
You can choose colors to help match your brand by clicking on the black squares

Options
Header
You can add up to 3 Headers to the top of your portal page. This is the first thing your customer will see when they open the link.


Baggage Options
These currently are the default options your passenger will have to choose from when they first click the link in the text message. You can customize them to fit your needs, but make sure to put a + if you would like them to be taken to the Baggage Round 2 Prompt and negative to send them directly to the pickup instructions.


Baggage Round Two
The next step you can also customize if you would like, but this time, the + will take them to the pickup instructions and the negative option will allow them to call the driver if there is a delay in picking up their luggage.


Passenger Has Bags Message
This is the message that will display to the passenger once they have collected their luggage and clicked on the “I have all my bags, I’m ready to be picked up.” button from the weblink. You can customize it fit your business, but just make sure at a minimum that you keep the %Pickup-Airport-Instructions% tag or your passenger will not be given directions to meet their driver.

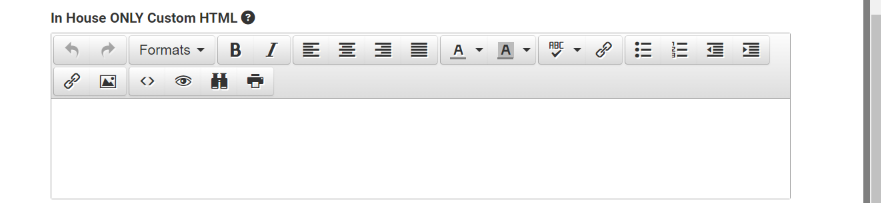
In House ONLY Custom HTML
If you would like to give special instructions or even a welcome video you can include that here. This will only go out for In-House non Farm-Out trips.

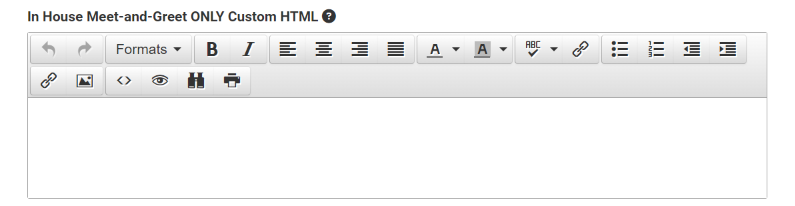
In House Meet-and-Greet ONLY Custom HTML
The next box is similar to the last one, but will only go out if it is an In-House Meet & Greet trip.

Passenger Ready for Pickup Instructions
This message will display to the customer if they mark the first 2 options on the first question. E.G. I only have carry on bags right after they click this link. You can customize it, but please make sure to keep the %PICKUP-AIRPORT-INSTRUCTIONS% part or else your customer won’t get any directions to the pickup location.


Driver SMS – Passenger Ready for Pickup
The driver will receive text messages throughout this process letting them know what the customer chooses. So if they have checked luggage, the driver will be notified of that. Once they passenger either says they have their luggage, or when they indicate they are 5 minutes away from the pickup area using the instruction time above, the driver will be notified and also given the same pickup instructions, just so there is no miss communication.


Limo Anywhere Setup
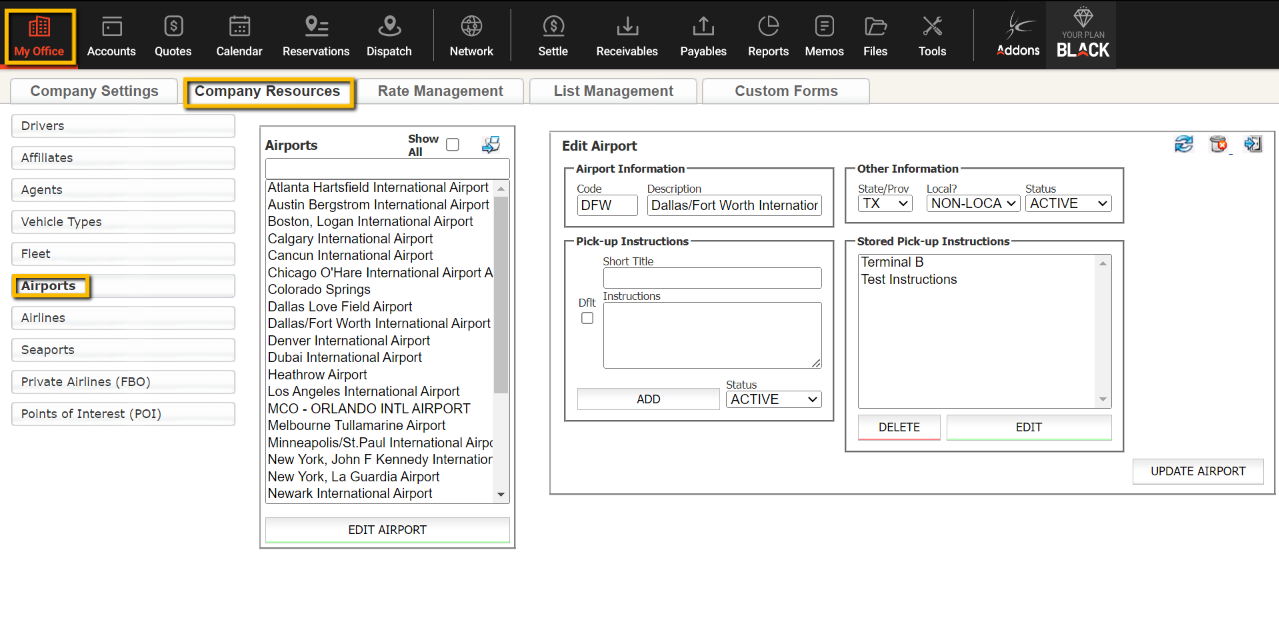
Airports
To use this feature and to send the passenger the correct instructions, you need to go to Limo Anywhere and navigate to My Office > Company Resources > Airports then select the airport you plan on sending your message out for and click EDIT AIRPORT. Under the airport information there is a Pick-up Instructions section. If you haven’t already done so, you need to enter your airport pickup instructions. You can save multiple instructions based on Meet and Greet and Terminal.
Note: If you click Dflt (Default) those instructions will be automatically added to all airport pickups.

In Reservations
In a reservation that is an airport pickup, select the Airport Instructions dropdown, and select the appropriate instructions you would like the customer to receive. These instructions will take the place of the %PICKUP-AIRPORT-INSTRUCTIONS% placeholder you created during your Airport Portal Setup.
That’s it, now you’re ready to keep your customers informed throughout their journey!
Note: If you also have Passenger Link enabled, this will go out instead of the Passenger Link for trips marked From Airport.