At the core, our Passenger Web App (PWA) provides a way to book rides, manage your account, and track your in-progress rides with status updates and driver GPS location.
In order to setup the PWA in Limo Anywhere, please see our article for information on How-To Set Up the Passenger Web App (PWA)
How to Access Our PWA
Our Passenger Web App (PWA) can be accessed from any mobile browser with internet connection at the URL: pwa.mylimobiz.com/company_id
Note: Replace company_id in the URL with your actual Company ID. If getting the “Company Not Found” page, please check the URL or contact the Limo Anywhere Support Team.
Mobile Browsers supported: Google Chrome, Mozilla Firefox, Opera, Safari, and Microsoft Edge.
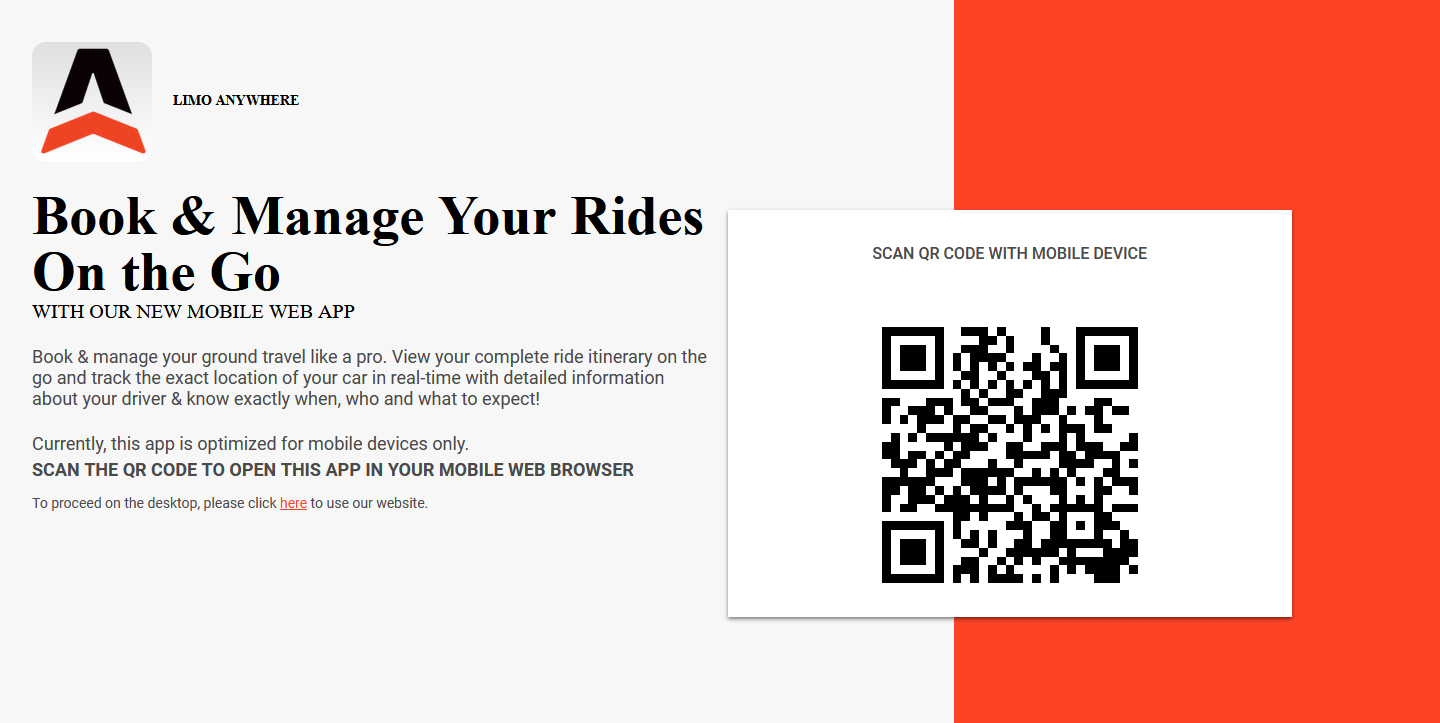
If accessed from a desktop/laptop, then the Landing Page will display a QR Code that your client can scan to open the PWA directly on their mobile device.

How to Add Our PWA to Your Home Screen
- Open your mobile browser
- Enter in the PWA URL
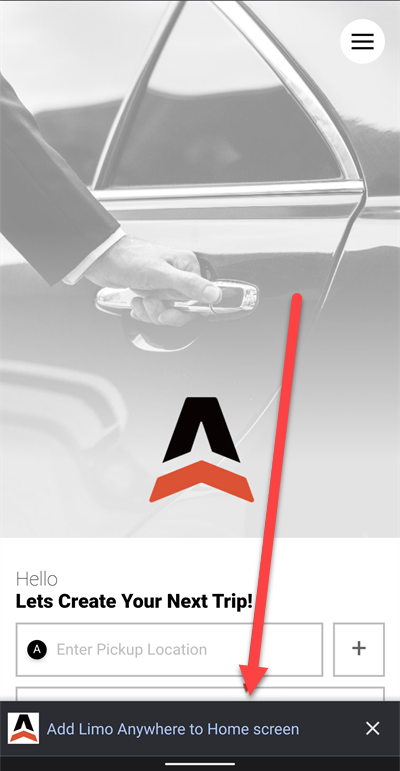
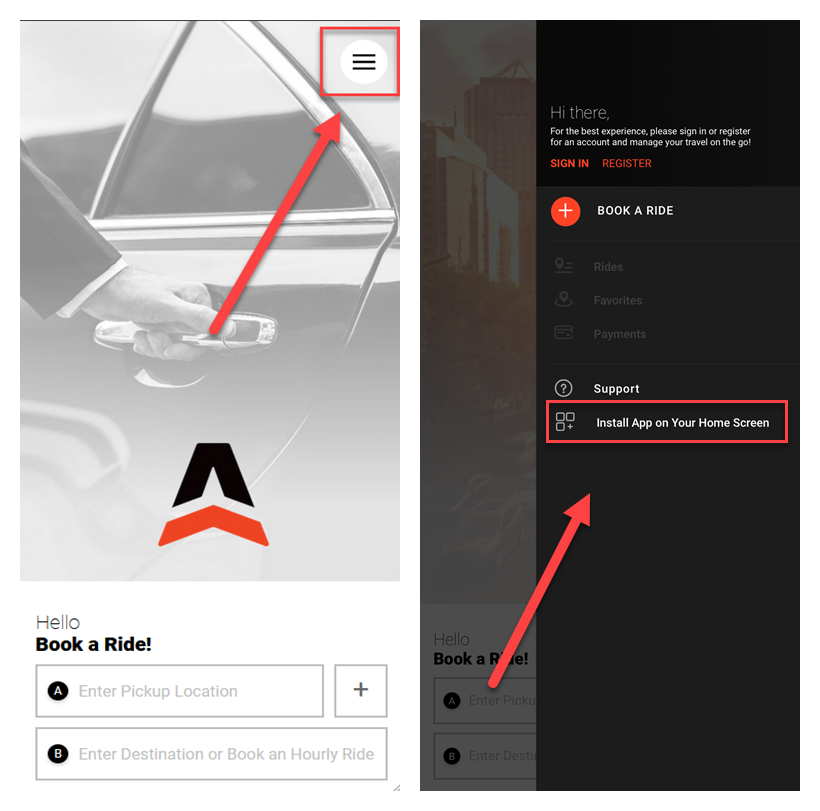
- Once the PWA loads you will either get a pop-up that prompts you to “Add to Home Screen” or you can go into the PWA menu and “Install App to Your Home Screen”
Example pop-up from Chrome on Android:

Example of selection in the PWA menu from Safari on iOS:

How to Book a Ride in Our PWA
Booking for Yourself
- Enter in Pickup Location
- (Optional) Click the + button to add any Stops in between the Pickup and Drop-off
- Enter in your Drop-off Location and/or Select Hourly and the # of hours
- Click “Confirm Your Route”
- If entered in an Airport as the Pickup location (if not proceed to Step 6)
- If you have your flight information (if not proceed to Step 5b)
- Select your Pickup Date
- Enter in your flight information (Airline Code and Flight #)
- Select where you would like your chauffeur to meet you
- Select when you would like your chauffeur to meet you based on your flight (Proceed to Step 7)
- If you do not have your flight information
- Click Skip (Proceed to Step 6)
- If you have your flight information (if not proceed to Step 5b)
- Select Your Pickup Date and Time
- If entered in Airport as Drop-off location (if not proceed to Step 7)
- If you have your flight information (if not proceed to Step 6aii)
- Enter in your flight information (Airline Code and Flight #)
- If you do not have your flight information
- Click Skip (Proceed to Step 7)
- If you have your flight information (if not proceed to Step 6aii)
- If entered in Airport as Drop-off location (if not proceed to Step 7)
- Select the vehicle you need for your ride
- (Optional) If you need to add Passengers, Luggage, or Child Seats click on the Passenger, Luggage, and Child Seats selection above the Vehicles
- Enter in your Contact Information (Name, Email Address, and Phone #)
- (Optional) Enter in a Password if you want to create an Account
- Enter in your Payment Details
- (Optional) Enter in any Notes for the chauffeur
- Click “Book This Trip”
- You will receive the success screen with your Confirmation #
Booking on Behalf of Another Person
- Enter in the Pickup Location
- (Optional) Click the + button to add any Stops in between the Pickup and Drop-off
- Enter in the Drop-off Location and/or Select Hourly and the # of hours
- Click “Confirm Your Route”
- If entered in an Airport as the Pickup location (if not proceed to Step 6)
- If you have the flight information (if not proceed to Step 5b)
- Select the Pickup Date
- Enter in the flight information (Airline Code and Flight #)
- Select where you would like the chauffeur to meet the passenger
- Select when you would like the chauffeur to meet the passenger based on your flight (Proceed to Step 7)
- If you do not have the flight information
- Click Skip (Proceed to Step 6)
- If you have the flight information (if not proceed to Step 5b)
- Select Your Pickup Date and Time
- If entered in Airport as Drop-off location (if not proceed to Step 7)
- If you have the flight information (if not proceed to Step 6aii)
- Enter in the flight information (Airline Code and Flight #)
- If you do not have the flight information
- Click Skip (Proceed to Step 7)
- If you have the flight information (if not proceed to Step 6aii)
- If entered in Airport as Drop-off location (if not proceed to Step 7)
- Select the vehicle needed for the ride
- (Optional) If you need to add Passengers, Luggage, or Child Seats click on the Passenger, Luggage, and Child Seats selection above the Vehicles
- Enter in the Passenger’s Contact Information (Name, Email Address, and Phone #)
- Enter in the Payment Details
- (Optional) Enter in any Notes for the chauffeur
- Click “Book This Trip”
- You will receive the success screen with the Confirmation #
How to Register and Create an Account on Our PWA
There are 2 ways you can register and create an account in our PWA
- Create an Account in the Menu
- Click on Menu button
- Click Sign In
- Click Sign Up
- Enter in Full Name
- Enter in Email Address
- Enter in Password
- Click Sign Up
Note: Your Account credentials will be the email address and password you just entered
- Create an Account on the Checkout page
- Go through Steps to Book a Ride on PWA (see above)
- On the Checkout page, you can enter in a Password along with your details to create an account
How to Sign-in On an Existing Account on Our PWA
There are 2 ways you can sign-in on our PWA
- Sign-in in the Menu
- Click on Menu button
- Click Sign In
- Enter in Email Address
- Enter in Password (Click “Forgot Password” if you need to reset your password)
- Click Sign In
- Sign-In on the Checkout page
- Go through Steps to Book a Ride on PWA (see above)
- On the Checkout page, click “Sign In”
- Enter in Email Address
- Enter in Password (Click “Forgot Password” if you need to reset your password)
- Click Sign In
